
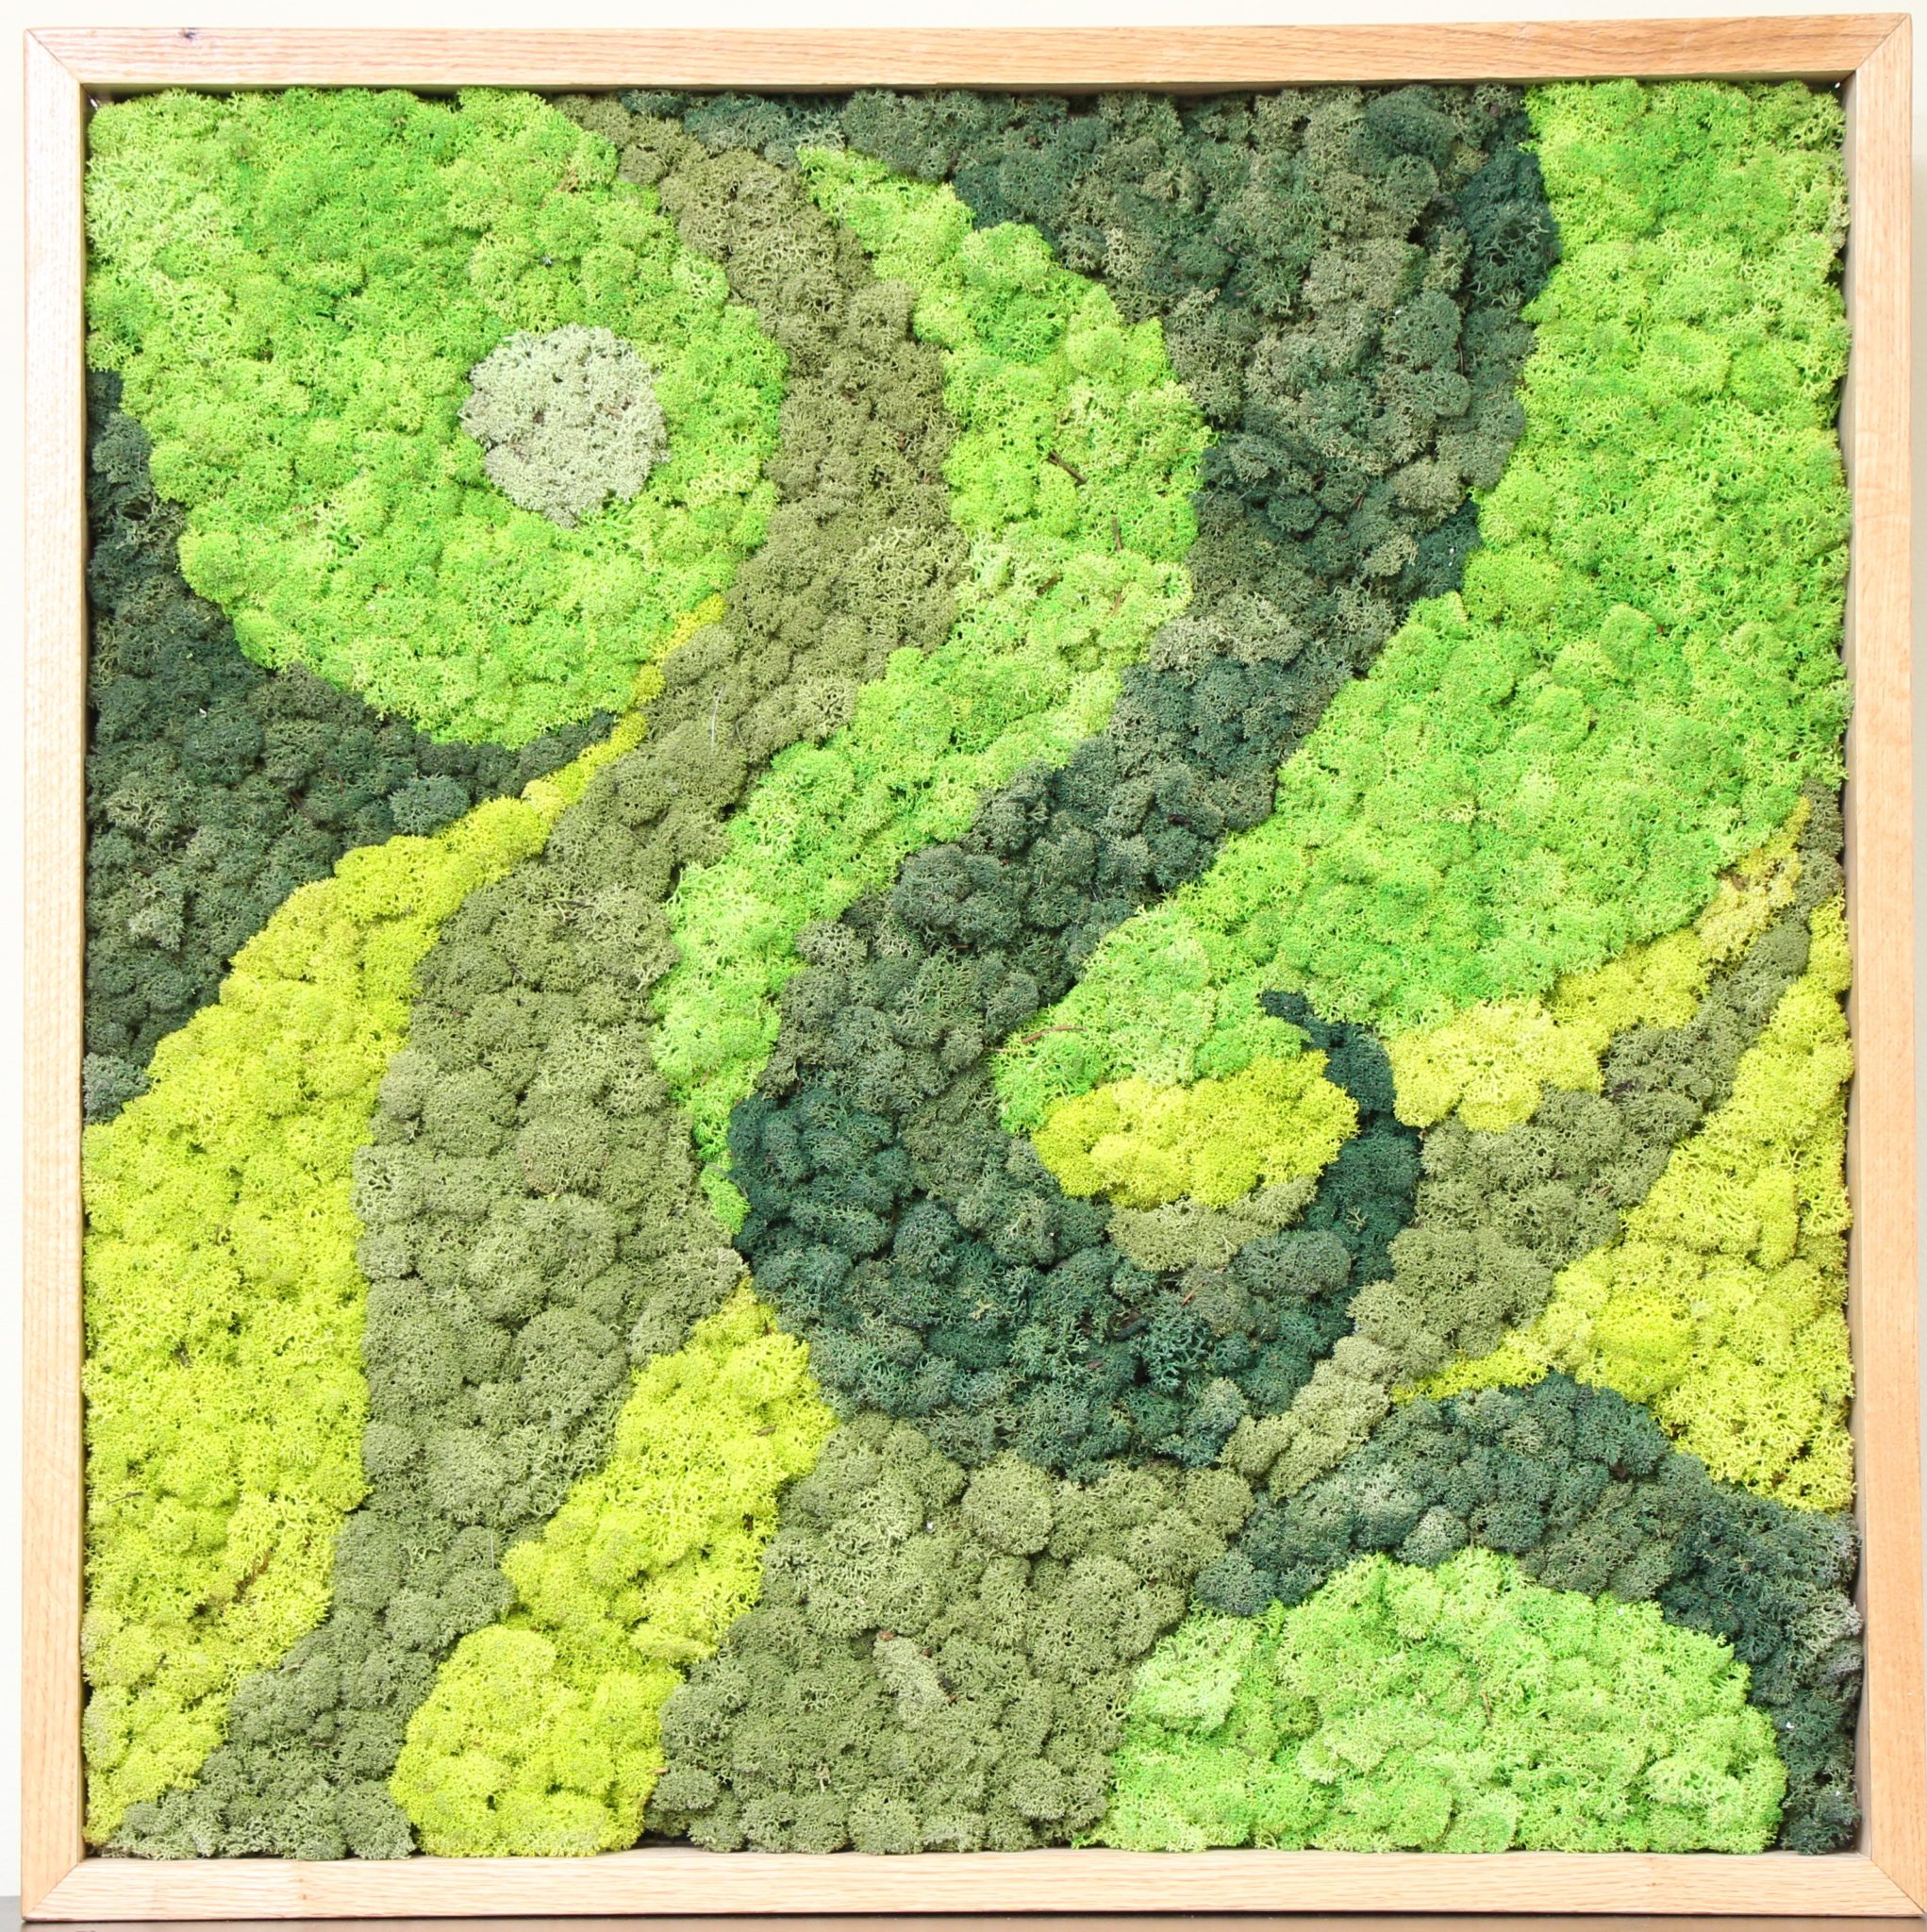
Moss Art on Wall - Are you ready to make your home look a little greener? No, we don't mean painting your walls green or bringing in an army of potted plants. We're talking about moss walls, baby! These living walls bring nature indoors and add a touch of whimsy to your home decor game. So, let's get to it and start building that mossy paradise.
DIY Moss Wall Art Brings Nature Indoors
What You'll Need:
- Dried moss panels
- Hot glue gun
- Picture frame
How to Moss It Up:
First, get yourself some dried moss panels. We know it sounds weird, but bear with us. You can find them at most craft stores. Cut them to fit your picture frame, and use a hot glue gun to secure them in place.
Next, let your creativity run wild. Arrange different types of moss in a pleasing pattern. You can even throw in some dried flowers for pops of color. Once you're happy with your moss masterpiece, pop it in the frame and revel in your DIY skills.
Pro Tip:
Go big or go home! If you're feeling really adventurous, create a statement wall by covering an entire surface in moss panels. It'll be like you're living in a fairy tale forest.
Preserved Moss Art on the Wood Slice with Faux Succulents
What You'll Need:

- Wood slice
- Preserved moss
- Faux succulents
- Hot glue gun
How to Moss It Up:
Start with a rustic wood slice as your base. Then, take your preserved moss (which you can find online or at a craft store) and layer it on top of the wood. Make sure to use a hot glue gun to keep it in place.
Now it's time to get fancy. Add some faux succulents to your mossy masterpiece. These little plants give your art piece a more dimensional look and add a pop of color.
Pro Tip:
Use the wood slice as a base for other decor, like candles or vases. It's a versatile piece that'll look good no matter what you do with it.
Eco Moss Wall Art
What You'll Need:
- Recycled wood frame
- Moss panels
- Soil
- Staple gun
- Perlite
- Mineral wool or foam base
How to Moss It Up:
This project requires a bit more work, but the result is worth it. First, start by building the base for your moss wall. Take your recycled wood frame and staple a mineral wool or foam base to it. Then, cover the base in soil mixed with perlite. This will give your moss the nutrients it needs to thrive.
Once your base is set, staple your moss panels to the frame. Make sure to stagger them to create a more natural, flowing look. Spray your moss with water every few days to keep it healthy and lush.
Pro Tip:
Don't be afraid to experiment with different kinds of moss. Different textures and shades add depth and interest to your moss wall art.
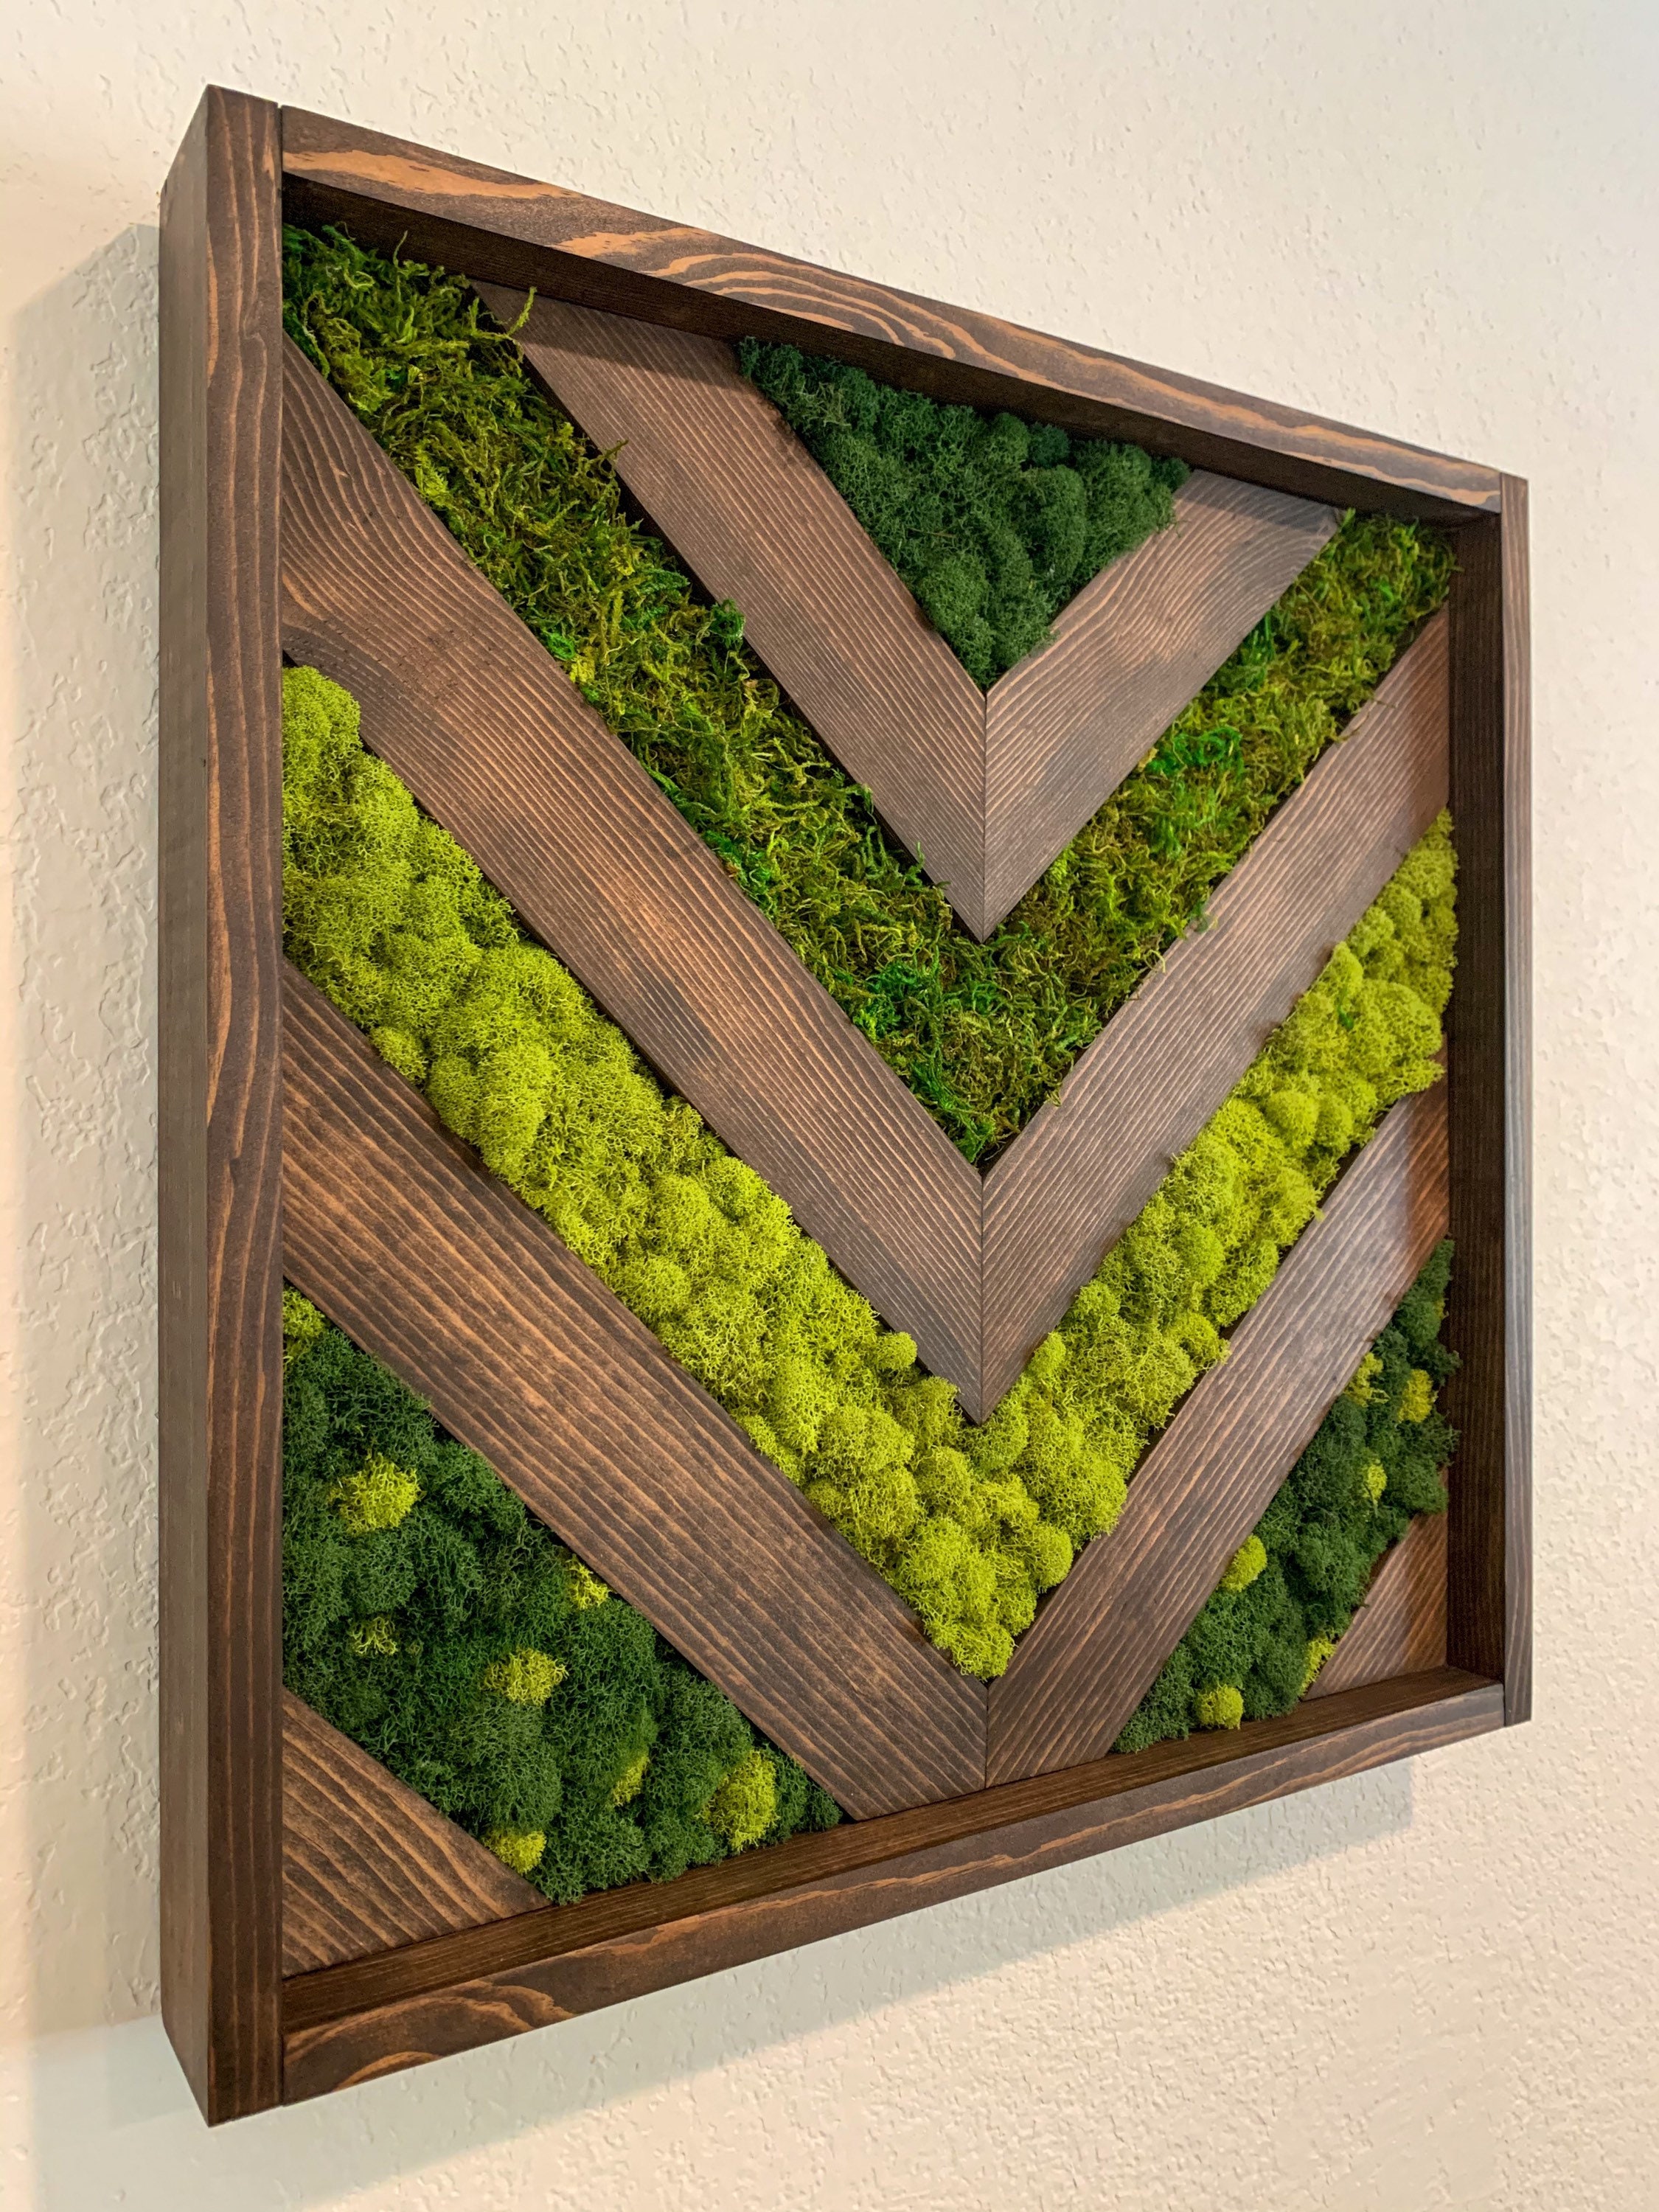
Moss Wall Art
What You'll Need:
- Wooden frame
- Moss
- Foam base
- Hot glue gun
How to Moss It Up:
Grab yourself a wooden frame and a foam base. Cut the foam to fit the frame, and cover it in moss. Use a hot glue gun to keep the moss in place.
Now comes the fun part. Play around with different shapes and sizes of moss to create a unique design. Use smaller strands of moss to fill in gaps or add more texture to your artwork.
Pro Tip:
Hang your moss wall art in a bright, well-lit area. Moss needs sunlight to thrive, so make sure it's getting enough light to keep it healthy and happy.
And there you have it, folks. Four different ways to bring a little bit of nature into your home. These moss wall art pieces are the perfect way to add some greenery without the hassle of watering or pruning. So, get creative and moss it up!
Read more articles about Moss Art On Wall