
Wall Art With Wood - Are you looking to add some natural and rustic charm to your home decor? Look no further than wood wall art! Check out these amazing pieces to inspire your creativity.
Wood Wall Art with Geometric Designs
Add a Modern Touch to Your Space
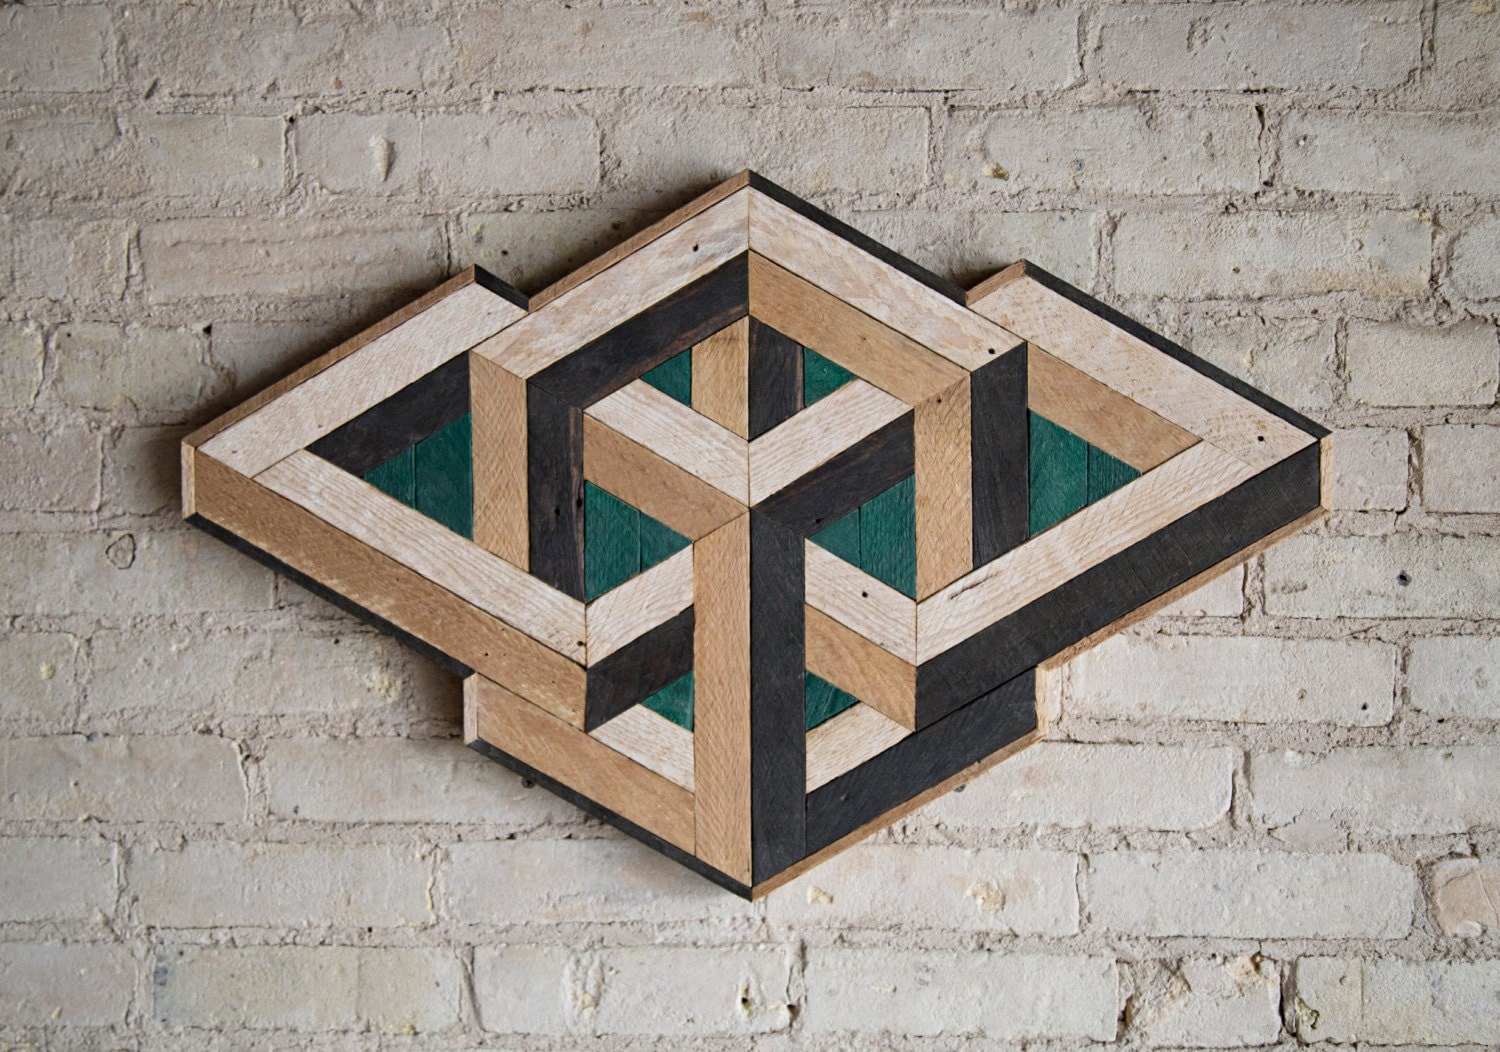
If you're looking for a contemporary twist on traditional wood wall art, consider geometric designs. The interplay between the natural wood grain and the precise, angular shapes creates an eye-catching statement piece. It's perfect for a modern or industrial living room, office, or bedroom.
Some ideas to get you started:
- Use hexagonal pieces of wood to create a honeycomb pattern.
- Arrange trapezoids in a chevron or herringbone pattern.
- Combine different shades of wood to create a dramatic contrast.
Don't be afraid to get creative and play around with different shapes and patterns until you find the perfect fit for your space.
How to Make Your Own Geometric Wood Wall Art
- Gather your materials: wood boards, saw, sandpaper, wood glue
- Cut the wood boards into your desired shapes using a saw.
- Sand the edges and surfaces of the boards until they are smooth and free of splinters.
- Arrange the boards into your desired pattern and glue them together using wood glue.
- Attach hanging hardware to the back of the finished piece.
Wood Mosaic Wall Art
A Timeless Classic

If you're looking for a classic and timeless wood wall art option, consider a wood mosaic. This technique involves arranging small pieces of wood in a mosaic-like pattern to create a larger image or design. It's a great way to add some natural warmth to your home decor.
Some ideas to get you started:
- Create a landscape scene using different shades and textures of wood.
- Arrange the wood pieces in a geometric pattern for a modern twist on a classic design.
- Spell out a word or phrase using wood letters.
How to Make Your Own Wood Mosaic Wall Art
- Gather your materials: wood boards, saw, sandpaper, wood stain or paint, wood glue
- Cut the wood boards into small, uniform pieces using a saw.
- Sand the edges and surfaces of the wood pieces until they are smooth and free of splinters.
- Arrange the wood pieces into your desired pattern or design.
- Glue the wood pieces onto a larger piece of wood or a canvas using wood glue.
- Stain or paint the finished piece to add color or enhance the wood's natural beauty.
Reclaimed Wood Wall Art
Repurpose and Recycle
If you're environmentally conscious or just appreciate the aesthetic of natural, worn wood, consider reclaimed wood wall art. This type of wood wall art uses wood that has been salvaged from old furniture, buildings, or shipping pallets that would otherwise be discarded. The result is a unique and sustainable piece of art that adds character to any room.
Some ideas to get you started:
- Arrange reclaimed wood planks in a rough-hewn design for a rustic look.
- Use reclaimed wood to create a silhouette of a favorite animal or object.
- Create a wood mosaic using only reclaimed wood for an eco-friendly twist on the classic technique.
How to Make Your Own Reclaimed Wood Wall Art
- Gather your materials: reclaimed wood planks, saw, sandpaper, wood glue
- Cut the wood planks into your desired shapes or sizes using a saw.
- Sand the edges and surfaces of the wood planks until they are smooth and free of splinters.
- Arrange the wood planks into your desired pattern or design.
- Glue the wood planks onto a larger piece of wood or a canvas using wood glue.
DIY Wood Wall Art
Unleash Your Creativity

One of the great things about wood wall art is that it's easy and fun to make your own! Whether you want to create a specific design or just play around with different shapes and colors, there are endless possibilities. Plus, making your own wood wall art is a great way to save money while adding some personal flair to your home decor.
Some DIY ideas to get you started:
- Paint or stain different sizes of wood circles and arrange them in a gradient pattern.
- Use jigsaw puzzles to create a unique, mosaic-like design.
- Arrange twigs, leaves, and other natural materials into a rustic design.
How to Make Your Own DIY Wood Wall Art
- Gather your materials: wood boards, saw, sandpaper, paint or stain, other decorative materials (optional)
- Cut the wood boards into your desired shapes using a saw.
- Sand the edges and surfaces of the boards until they are smooth and free of splinters.
- Paint or stain the wood boards in your desired color.
- Add additional decorative materials if desired.
There you have it - some amazing ideas for wood wall art that will add a touch of natural beauty to your home decor. Whether you choose to buy or make your own, you can't go wrong with the rustic charm of wood wall art.
Read more articles about Wall Art With Wood